Uploading Photos
The Our Work page displays all photos and videos you’ve uploaded to the “gallery” folder in Directus. There are no extra forms to fill out; just upload a photo to the right folder and it appears on the website.

Supported Photo Formats
Section titled “Supported Photo Formats”You can upload photos in these formats:
- JPG / JPEG: the most common photo format (from phone cameras)
- PNG: good for images with transparent backgrounds
- WebP: a smaller, web-optimized format
Step-by-Step: Uploading a Photo
Section titled “Step-by-Step: Uploading a Photo”- Log in to Directus.
- Click the Files icon in the left sidebar (it looks like an image).
- Look for the “gallery” folder on the left side of the Files area and click it.
- Click the Upload button (it may appear as a cloud icon with an arrow, or a ”+ New” button).
- Click Upload a File and select the photo from your computer, or drag and drop it directly into the Files area.
- Wait for the upload to complete. You’ll see the photo appear in the gallery folder.
The photo will show up automatically on the Our Work page.
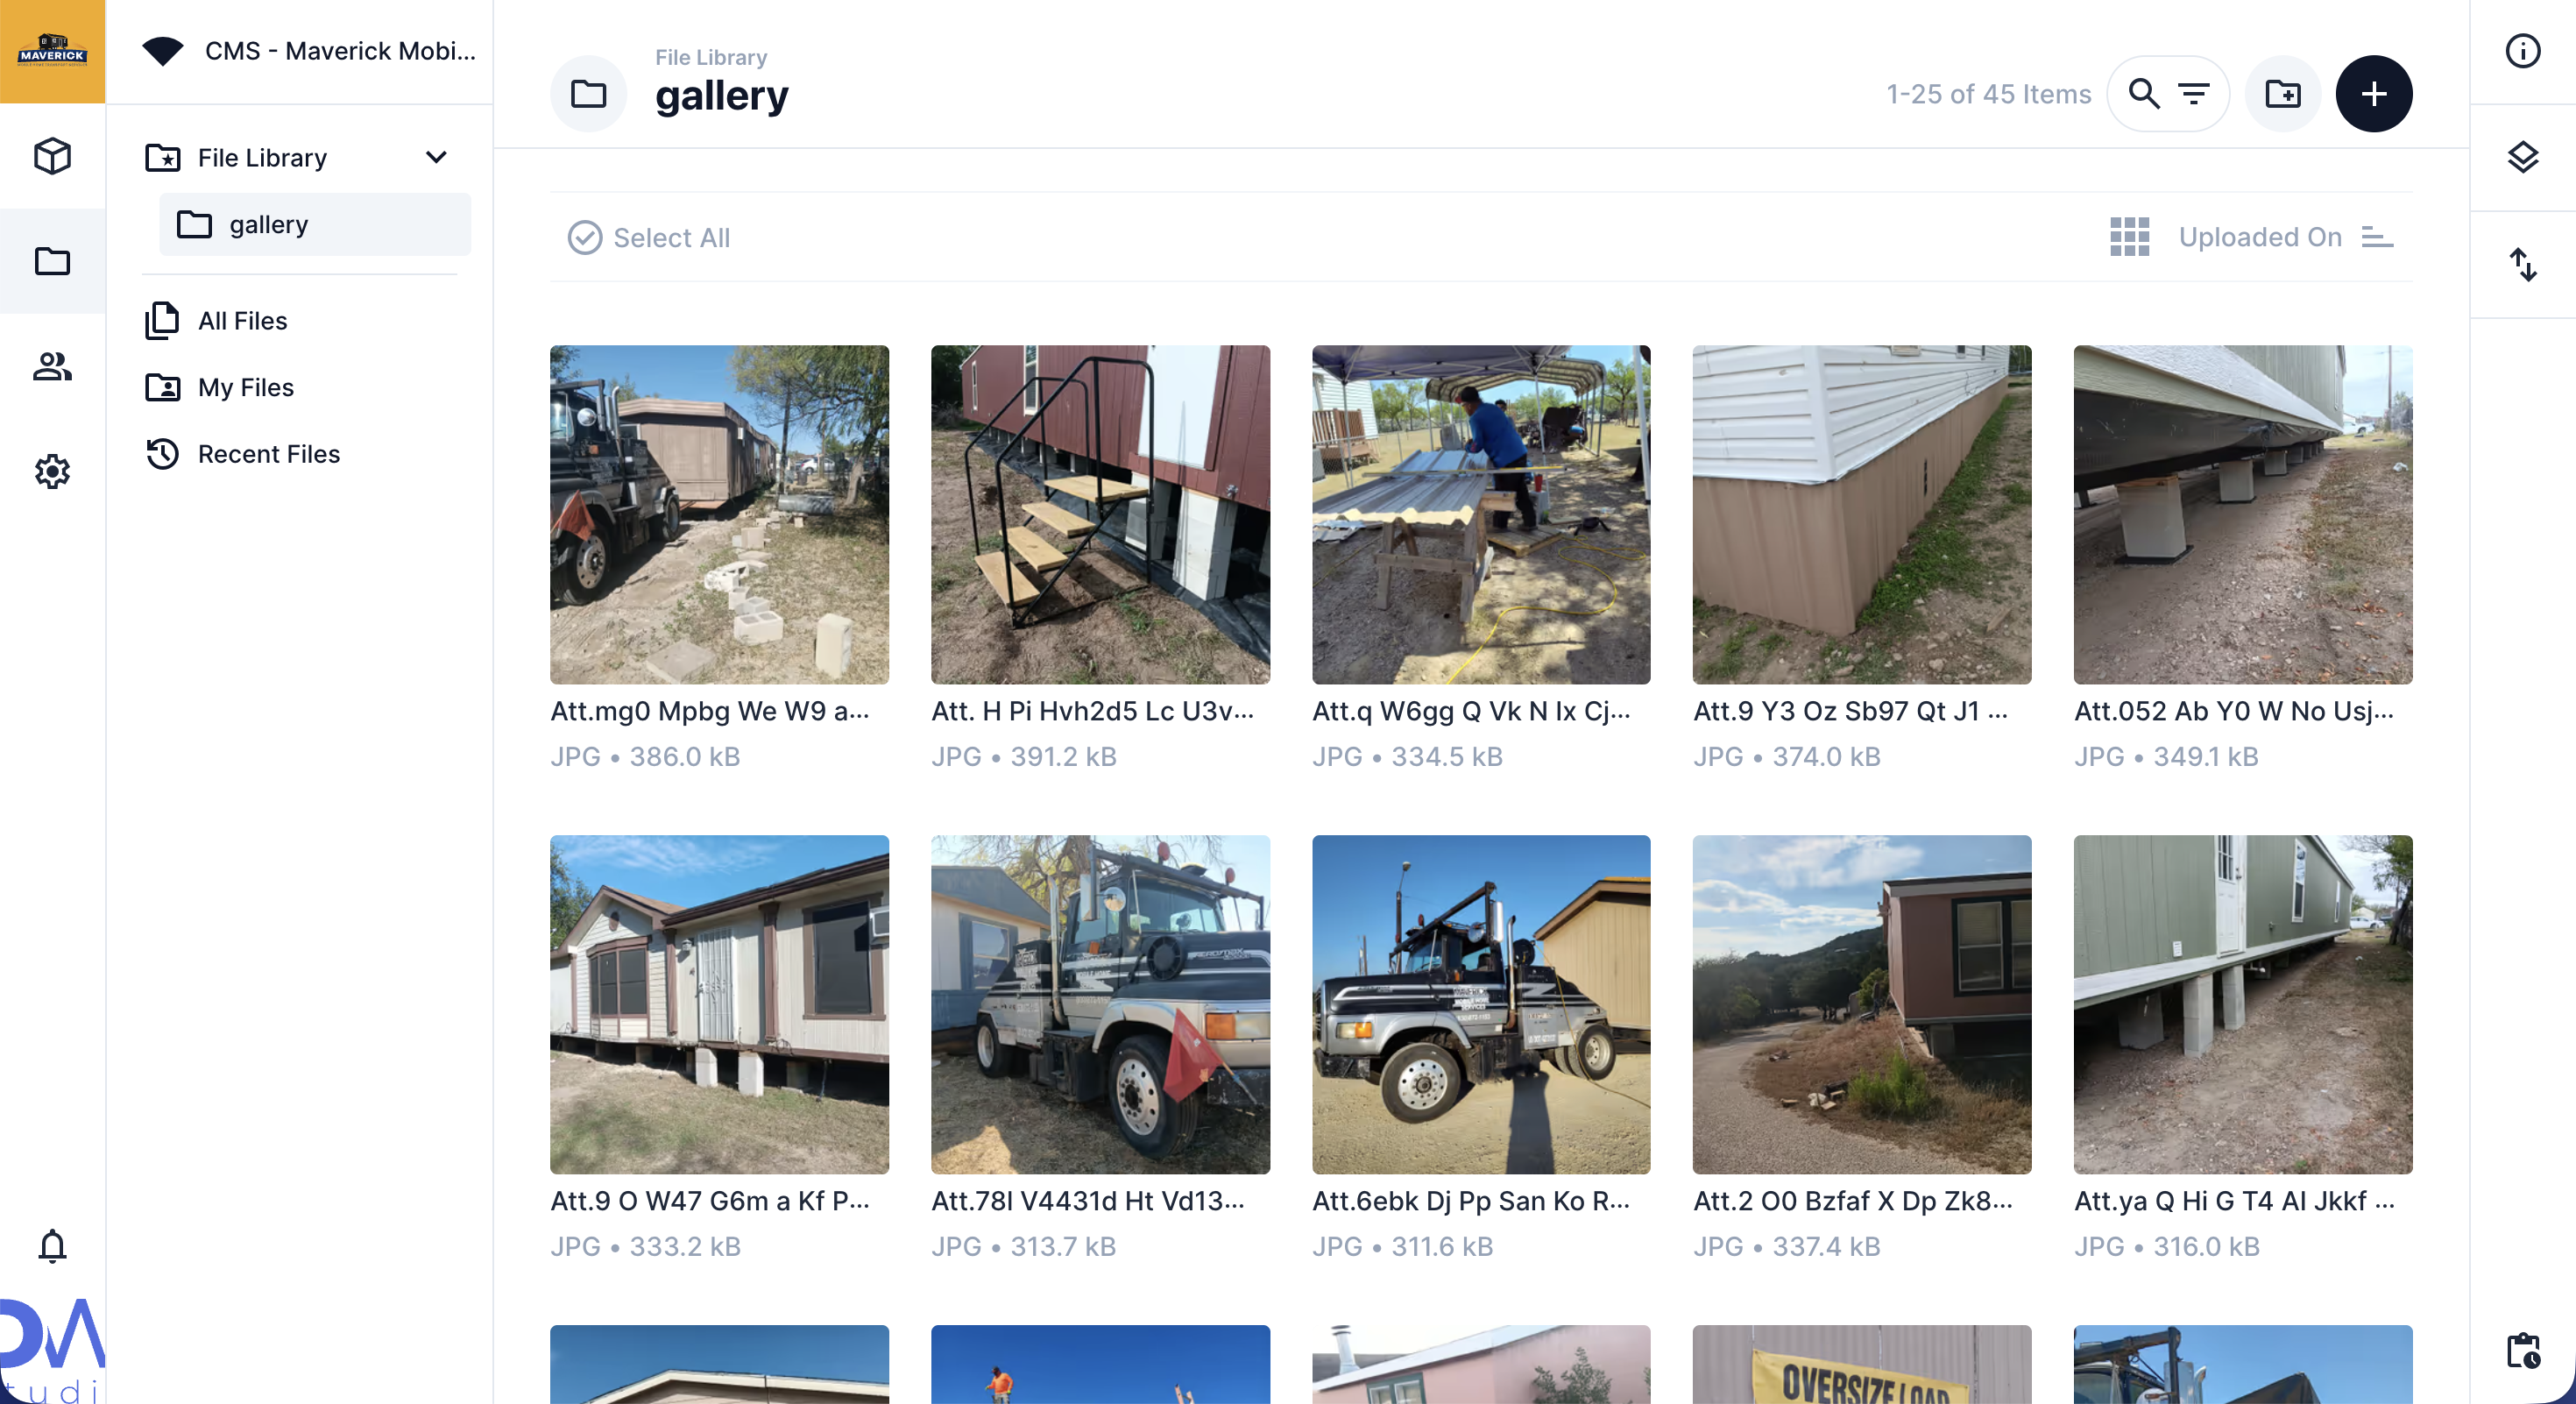
Photo Order
Section titled “Photo Order”Photos appear on the website with the newest uploads first. The most recently uploaded photo will be at the top of the gallery.
Uploading Multiple Photos at Once
Section titled “Uploading Multiple Photos at Once”You can select multiple photos at once when uploading:
- Click Upload a File.
- Hold Ctrl (Windows) or Command (Mac) and click each photo you want to upload.
- Click Open.
All selected photos will upload together.
What If a Photo Looks Wrong?
Section titled “What If a Photo Looks Wrong?”If a photo appears distorted or cropped in a way you don’t like on the website, try uploading a version with a landscape (horizontal) orientation. Photos taken in portrait (vertical) orientation may not display as well in the gallery grid.
Removing a Photo from the Gallery
Section titled “Removing a Photo from the Gallery”- Open the Files area and go to the gallery folder.
- Find the photo you want to remove.
- Right-click on it (or click the three-dot menu) and select Delete.
- Confirm the deletion.